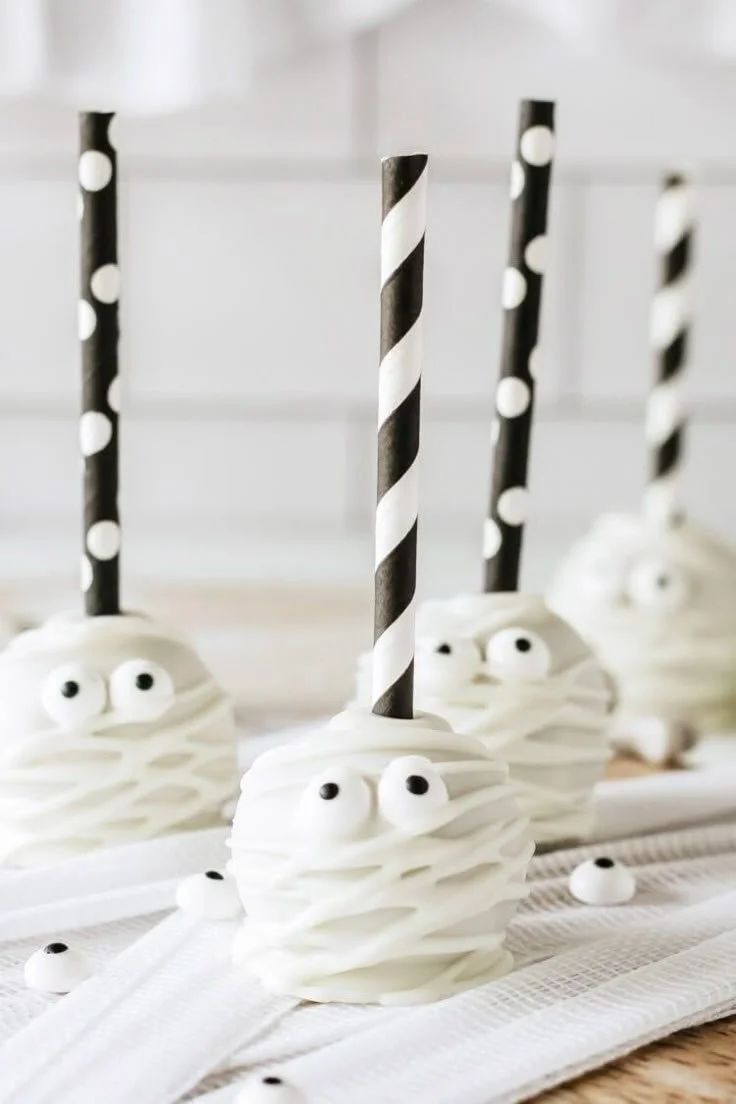
Cake pops are a delightful treat, and these Mummy Cake Pops are perfect for Halloween. They’re fun to make and even more enjoyable to eat! Whipping up a batch of these cake pops will surely add a festive touch to your celebrations, pleasing both kids and adults alike.
Why You’ll Love Mummy Cake Pops
- Easy to Make: With just a few simple ingredients and steps, these cake pops come together quickly, making them perfect for even novice bakers.
- Fun for Everyone: They’re not only tasty but also fun to decorate. Kids will love getting involved, whether they’re rolling the cake balls or adding the finishing touches.
- Perfect for Halloween: The mummy design is playful and spooky, making these treats a hit for Halloween gatherings and parties.
- Customizable: You can easily adapt the flavors and decorations to suit your preferences, whether you want to try different cake mixes or toppings.
- Great for Sharing: These cake pops are perfect for sharing at parties, school events, or family gatherings, bringing people together over a festive dessert.
Recipe Overview
- Prep Time: 20 minutes
- Cook Time: 30 minutes
- Total Time: 50 minutes (plus chilling time)
- Servings: 12 cake pops
- Difficulty Level: Easy
Ingredients You’ll Need for Mummy Cake Pops
-
For the Cake Balls:
- 1 box cake mix (any flavor)
- Eggs (as required by the cake mix)
- Oil (as required by the cake mix)
- Water (as required by the cake mix)
-
For the Coating and Decoration:
- White chocolate or candy melting wafers
- Lollipop sticks
- Black icing or chocolate for decorating
- Sprinkles (optional)
Tip: Choose a cake mix flavor that you enjoy, as it will be the base flavor of your pops. Chocolate and vanilla are classic favorites.
How to Make Mummy Cake Pops
-
Prepare the Cake Mix:
Follow the package instructions to prepare the cake mix. Bake it according to the suggested time and allow it to cool completely afterward. -
Crumble the Cake:
Once cooled, crumble the cake into a large bowl. You want the texture to be fine and even, which helps the cake pops hold their shape. -
Add Frosting:
Mix in a small amount of frosting to the crumbled cake. Start with a few tablespoons and add more as needed until the mixture holds together well without being overly sticky. -
Shape the Cake Balls:
Form small balls using the cake mixture, about the size of a tablespoon, and place them on a baking sheet lined with parchment paper. -
Insert Lollipop Sticks:
Carefully insert lollipop sticks into each cake ball, pushing them in about halfway. -
Chill the Cake Pops:
Place the baking sheet in the refrigerator for about 30 minutes. This step helps the cake pops firm up so they hold their shape when dipped. -
Melt the Coating:
In a microwave-safe bowl, melt the white chocolate or candy melting wafers according to the package instructions, stirring until smooth. -
Dip the Cake Pops:
Dip each cake pop into the melted chocolate, making sure to coat it evenly. Tap off any excess chocolate gently. -
Let the Chocolate Set:
Place the dipped cake pops back on the baking sheet and allow the chocolate to harden completely. -
Decorate:
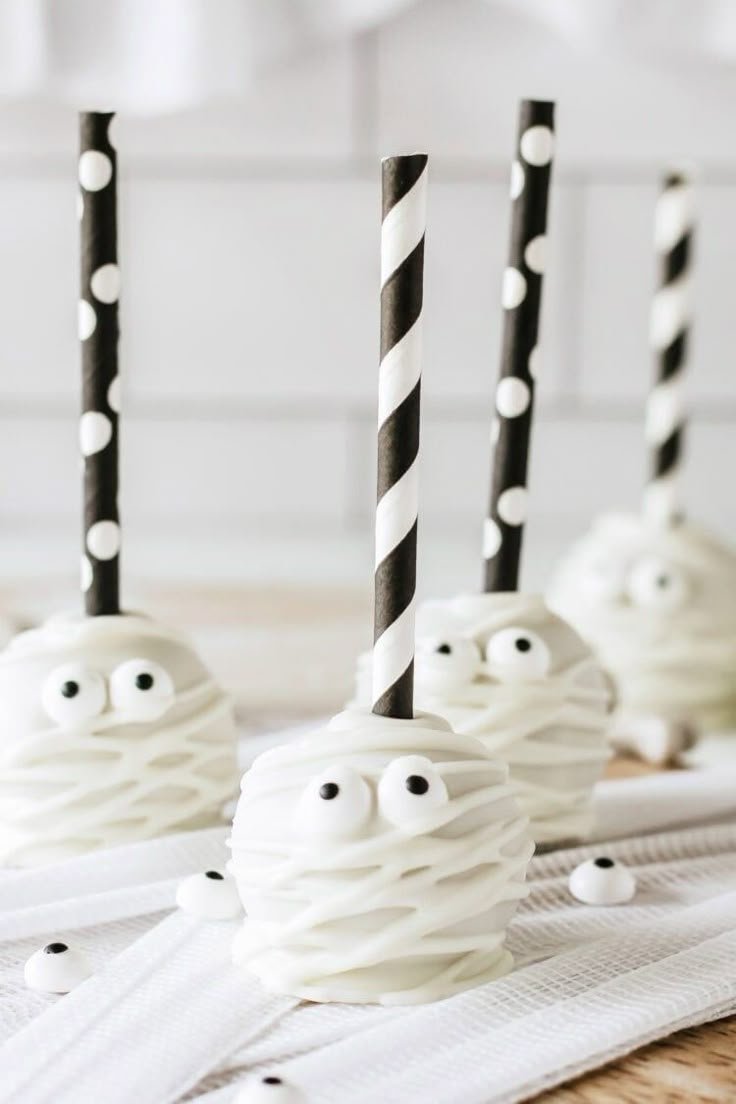
Use black icing to create eyes and a mouth on each cake pop, then drizzle additional melted chocolate over the pops to create the mummy’s bandages. Add sprinkles if you like for extra decoration. -
Enjoy:
Your Mummy Cake Pops are now ready to be enjoyed. These spooky treats are sure to be a hit!
Tips for Success
- Cooling Time: Ensure your cake is completely cool before crumbling. This prevents the mixture from becoming too moist.
- Frosting Adjustment: Start with a little frosting. Too much can lead to overly wet cake pops that won’t hold their shape.
- Chocolate Coating: Make sure the melted chocolate isn’t too hot, as it can cause the cake pops to become soggy. Let it cool slightly if needed.
- Chilling Step: Don’t skip the chilling step; it’s crucial for maintaining shape during the dipping process.
- Decorating Techniques: Use a piping bag for precise decorating, especially when making mummy bandages.
Easy Variations
- Flavor Swaps: Try different cake mixes like red velvet, lemon, or funfetti for a unique twist.
- Chocolate Coating: Instead of white chocolate, use dark or milk chocolate for a different flavor profile.
- Colorful Mummies: Add food coloring to your melted chocolate to create spooky colors for Halloween.
- Nutty Add-ins: Mix in finely chopped nuts or chocolate chips into the cake mixture for added texture and flavor.
- Holiday Themes: Change the decorations for different holidays; use red and green for Christmas or pastel colors for Easter.
What to Serve with Mummy Cake Pops
- Hot Apple Cider: The warm spices complement the sweet cake pops wonderfully, creating a cozy treat.
- Halloween Punch: A fun, fizzy drink adds to the festivities and balances the sweetness of the cake pops.
- Popcorn: Sweet or savory popcorn can serve as a fun contrast to the cake pops’ flavors.
- Fruit Platter: A refreshing fruit platter offers a bright and healthy option alongside the sweets.
- Cheesecake Bites: These rich desserts can add another layer of indulgence to your Halloween dessert table.
Storage and Reheating
- Refrigeration: Store leftover cake pops in an airtight container in the refrigerator for up to one week.
- Freezing: You can freeze uncoated cake pops for up to three months. Thaw in the fridge overnight before coating.
- Reheating: The cake pops don’t need reheating. Enjoy them cold or at room temperature for the best texture.
- Texture Preservation: To keep the coating crisp, store them separately from any moist foods.
Common Mistakes to Avoid
- Overbaking the Cake: Keep an eye on the baking time; overbaked cake can make the pops dry.
- Too Much Frosting: Adding too much frosting can lead to soggy cake pops. Add it gradually until you find the right consistency.
- Skipping the Chill: Not chilling the cake pops before dipping makes them difficult to handle and dip without falling apart.
- Hot Chocolate: Avoid dipping in overly hot chocolate; let it cool a bit to maintain the integrity of the cake pops.
- Uneven Decoration: For a more polished look, practice using a piping bag for even lines when decorating.
Mummy Cake Pops: Background & Cultural Inspiration
Mummy Cake Pops are a whimsical addition to Halloween festivities. The concept of mummies originates from ancient Egyptian practices of embalming and preserving the dead. Over time, these mummies have become symbols in popular culture, often depicted in movies and stories, contributing to their spooky allure. Cake pops, on the other hand, gained popularity in the U.S. during the early 2000s, combining the delightful flavors of cake and frosting into bite-sized treats. The fusion of these two elements makes Mummy Cake Pops a fitting and fun dessert for Halloween celebrations.
Frequently Asked Questions
Can I use homemade cake instead of a box mix?
Yes, you can use homemade cake! Just ensure it’s properly baked and cooled before crumbling.
What can I use instead of lollipop sticks?
If you don’t have lollipop sticks, you can use pretzel rods for another fun option.
How long can I store the cake pops?
You can keep them in the refrigerator for up to a week or freeze them for up to three months.
Can I make these cake pops in advance?
Absolutely! You can prepare and decorate them a day or two ahead of time. Just store them properly in the fridge.
What if my cake pops are falling off the sticks?
This can happen if they’re too heavy or if the chocolate coating is too hot. Make sure to chill them well before dipping and allow the coating to cool slightly.
Final Thoughts
Making Mummy Cake Pops is an enjoyable and creative baking experience that brings a festive flair to any Halloween gathering. With their charming appearance and delicious flavor, these cake pops will undoubtedly make you the star of the seasonal celebrations. Give this recipe a try, and enjoy creating these delightful treats with friends and family!












