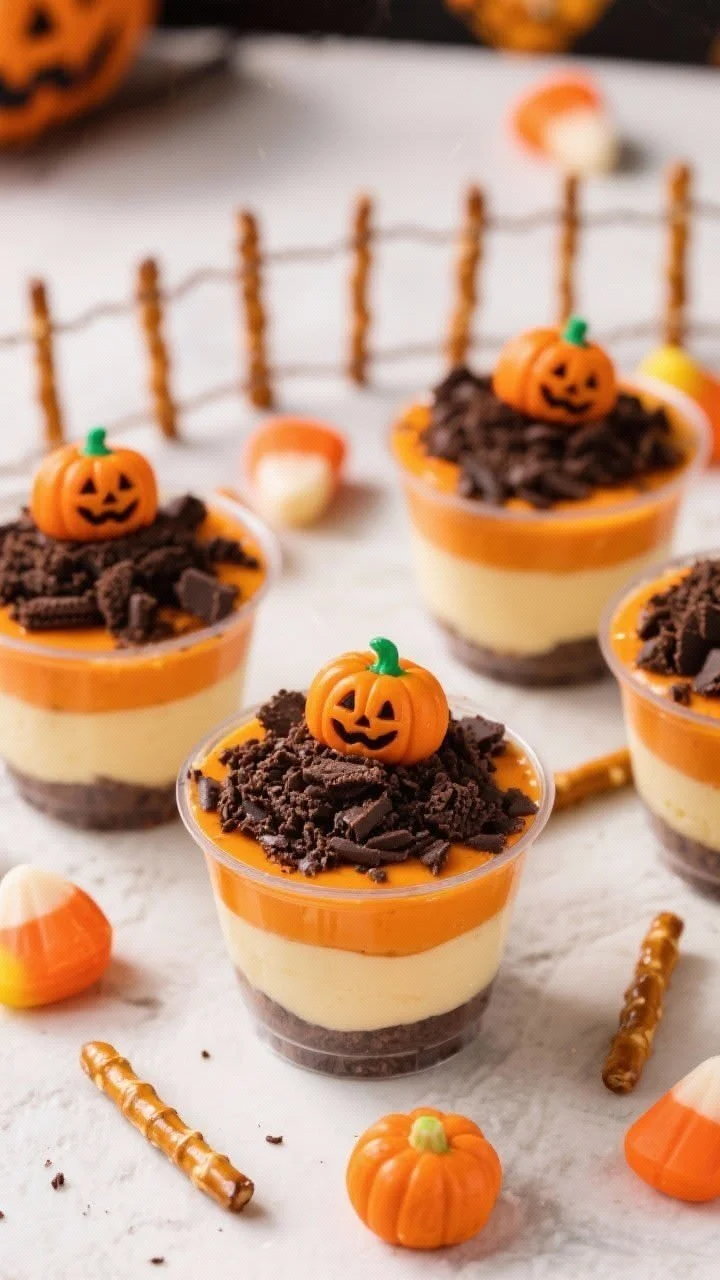
Halloween Dirt Cups are a fun and whimsical dessert that combines creamy chocolate pudding with layers of crunchy cookies and gummy worms. This kid-friendly treat is perfect for Halloween parties or any spooky occasion, making it a delightful and engaging activity for both kids and adults alike.
Why You’ll Love Halloween Dirt Cups
- Simple to Make: With just a few basic ingredients and easy steps, these treats are perfect for beginner cooks and busy parents.
- Customizable: You can personalize the cups with different toppings or colors to match your spooky theme.
- Great for Parties: These fun and festive cups are sure to be a hit at any Halloween gathering or fall celebration.
- Texture Contrast: The creamy pudding paired with the crunchy cookie layers creates a delightful contrast that everyone will enjoy.
- Kid-Friendly Fun: Kids can help assemble their own cups, adding an interactive element to dessert making.
Recipe Overview
- Prep Time: 10 minutes
- Cook Time: 5 minutes (for pudding)
- Total Time: 15 minutes
- Servings: 4
- Difficulty Level: Easy
Ingredients You’ll Need for Halloween Dirt Cups
- Chocolate Pudding
- Purchase instant pudding for quick preparation.
- Crushed Chocolate Cookies
- Use Oreos or any chocolate wafer cookies for a rich “dirt” layer.
- Gummy Worms
- These whimsical candies add an extra fun touch and can be placed on top for decoration.
- Green Food Coloring (Optional)
- A few drops can be mixed into the pudding for a spooky effect.
- Whipped Cream
- Light, fluffy, and sweet, it makes a great topping.
- Plastic Cups
- Clear cups help showcase the pretty layers, making them visually appealing.
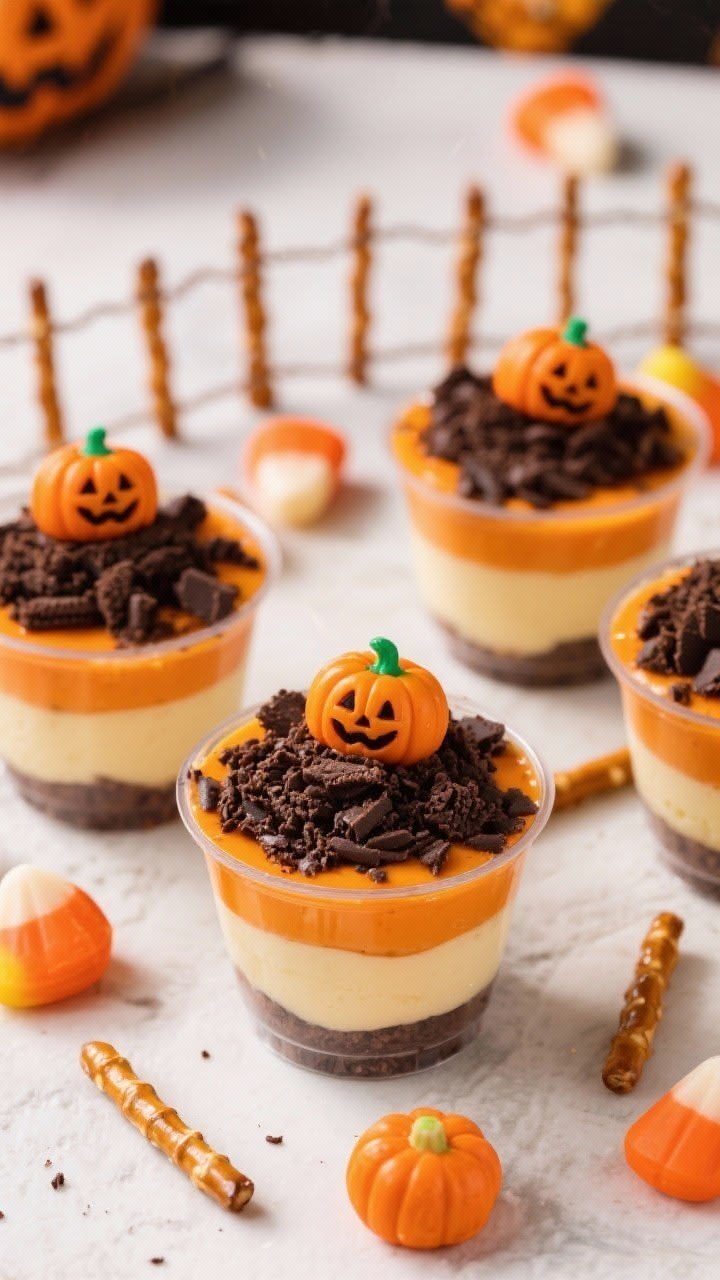
How to Make Halloween Dirt Cups
-
Prepare the Pudding
- Follow the package instructions to prepare the chocolate pudding. This usually requires whisking the pudding mix with milk until thickened.
-
Create the Base Layer
- In a plastic cup, add a spoonful of chocolate pudding. This will be the first layer, setting the foundation for your dessert.
-
Add the Cookie Layer
- Sprinkle a layer of crushed chocolate cookies over the pudding. This will resemble dirt and add texture.
-
Build the Layers
- Repeat layering the pudding and crushed cookies until the cup is full, ensuring you finish with a cookie layer on top.
-
Finish with Whipped Cream
- Top each cup with a generous dollop of whipped cream. This adds a light and creamy finish to your dessert.
-
Decorate with Gummy Worms
- Place gummy worms on top of the whipped cream, letting some hang over the edges for a dramatic effect.
-
Optional Green Touch
- For an extra spooky look, mix a few drops of green food coloring into some of the remaining pudding and layer it in the cups.
-
Serve and Enjoy
- These treats are best enjoyed immediately following assembly, but you can make them a few hours in advance for convenience.
Tips for Success
- Chill Your Ingredients: For the best texture, ensure your pudding is well-chilled before serving. This enhances creaminess.
- Even Layers: Use the back of a spoon to press the crushed cookies down slightly, ensuring even layering.
- Don’t Overmix Pudding: When preparing your pudding, whisk just until smooth; overmixing can make it watery.
- Fun Presentations: Get creative with different candy toppings like gummy spiders or chocolate bones for added Halloween flair.
- Stir Pudding Gently: If you mix in food coloring, do so gently to maintain a creamy texture without clumps.
Easy Variations
- Sugar Cookie Base: Swap out chocolate cookies for crumbled sugar cookies for a lighter taste.
- Fruit Layer: Add a layer of fruit like sliced bananas or strawberries for added freshness.
- Flavor Twist: Use vanilla or butterscotch pudding instead of chocolate for a new flavor experience.
- Different Candies: Experiment with other candies like sour gummies or chocolate rocks to create unique combinations.
- Dairy-Free Option: Substitute with dairy-free pudding and whipped cream for a lactose-free dessert.
What to Serve with Halloween Dirt Cups
- Spooky Cupcakes: Decorate cupcakes with themed frosting to complement the dirt cups.
- Pumpkin Dip: Serve a sweet pumpkin dip with graham crackers as a delightful pairing.
- Cheese Platter: A selection of cheeses and crackers can provide a savory contrast to the dessert.
- Witch’s Brew Punch: A fun, colorful punch will enhance the Halloween theme and refresh guests.
- Ghost-shaped Cookies: These treats can add a light, sweet touch that pairs well with the larger dessert.
Storage and Reheating
- Refrigerator Storage: Keep the assembled cups in the refrigerator, covered with plastic wrap, for up to two days.
- Freezer Storage: Do not freeze the assembled cups as the texture will change; however, pudding can be frozen before assembly.
- Serving Storage: If possible, serve immediately after preparation for optimal taste and texture.
- Preserve Texture: If making ahead, store the whipped cream separately and add just before serving to prevent sogginess.
Common Mistakes to Avoid
- Skipping Layers: Don’t forget to alternate layers; it’s what makes these dirt cups visually appealing.
- Overcomplicating Steps: Stick to the basic recipe until you’re comfortable before trying variations.
- Using Warm Pudding: Remember to let the pudding cool before assembly to maintain the structure of your cups.
- Soggy Cookies: Avoid making these too far in advance, as the cookies can become limp when layered with pudding.
- Too Much Food Coloring: Use food coloring sparingly; a little goes a long way in changing the pudding’s color.
Halloween Dirt Cups: Background & Cultural Inspiration
Halloween Dirt Cups take inspiration from classic “dirt cakes,” often made around Halloween. The playful combination of chocolate pudding and crushed cookies imitates the look of dirt, making them a beloved treat during the spooky season. Originating in the United States, these desserts have become popular due to their easy assembly and the opportunity for creative decoration, allowing both adults and children to engage in assembling their own spooky treats.
Frequently Asked Questions
Can I make Halloween Dirt Cups in advance?
Yes, you can prepare the pudding and crush the cookies ahead of time, but it’s best to assemble them within a few hours of serving for optimal texture.
What can I use instead of chocolate pudding?
Vanilla or butterscotch pudding can serve as a tasty alternative if you prefer a different flavor.
How long do Halloween Dirt Cups last in the fridge?
They can be stored in the refrigerator for up to two days if covered properly.
Can I use a different type of candy instead of gummy worms?
Absolutely! You can use any candy for decoration, such as gummy spiders, bugs, or even candy corn.
How can I make these dairy-free?
You can use non-dairy pudding mixes and whipped toppings to create a dairy-free version of Halloween Dirt Cups.
Final Thoughts
Halloween Dirt Cups are a delightful and interactive treat that captivates both the eyes and taste buds. They offer a simple way to bring joy and creativity into your kitchen, making them perfect not only for Halloween but also for any festive gathering. Try making these cups with friends and family for a fun experience that everyone will enjoy!
PrintHalloween Dirt Cups

Fun and whimsical dessert combining chocolate pudding with crunchy cookies and gummy worms, perfect for Halloween parties.
- Prep Time: 10 minutes
- Cook Time: 5 minutes
- Total Time: 15 minutes
- Yield: 4 servings
- Category: Dessert
- Method: No-Bake
- Cuisine: American
- Diet: Vegetarian
Ingredients
- 1 package instant chocolate pudding
- 1 ¾ cups milk
- 2 cups crushed chocolate cookies (such as Oreos)
- 1 cup gummy worms
- Green food coloring (optional)
- 1 cup whipped cream
- 4 plastic cups
Instructions
- Prepare the pudding by following package instructions, whisking the pudding mix with milk until thickened.
- Create the base layer by adding a spoonful of chocolate pudding to a plastic cup.
- Add a layer of crushed chocolate cookies over the pudding.
- Build the layers by repeating the pudding and cookie layering until the cup is full, finishing with a cookie layer on top.
- Finish by topping each cup with a generous dollop of whipped cream.
- Decorate with gummy worms, letting some hang over the edges.
- Optional: For a spooky look, mix green food coloring into some of the remaining pudding and layer it in the cups.
- Serve immediately or chill for a few hours before serving.
Notes
For the best texture, chill ingredients before use and avoid overmixing the pudding.












