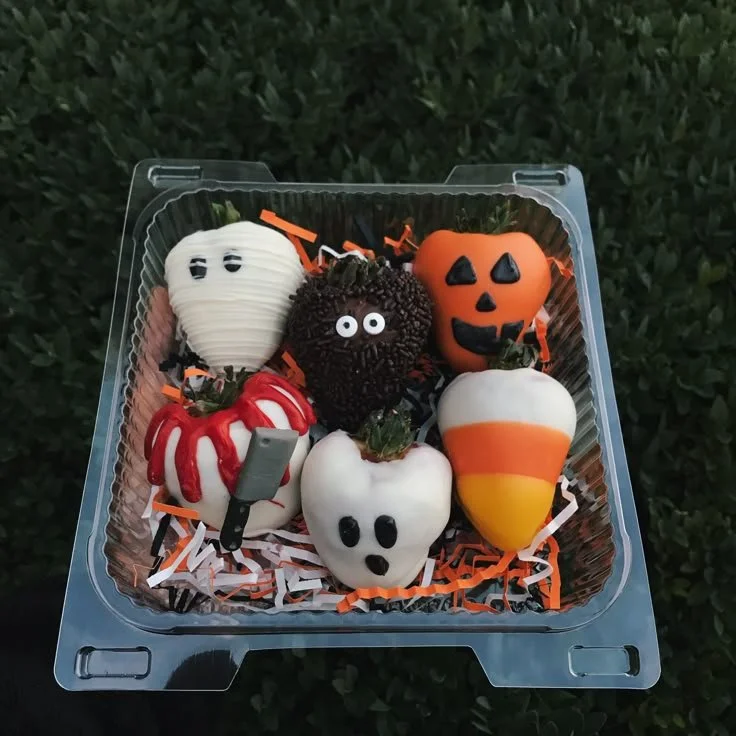
There’s something wonderfully nostalgic and festive about making Halloween treat boxes filled with creepy sweets and spooky treats. Whether you’re preparing them for a Halloween party, to hand out to trick-or-treaters, or to enjoy with family, these treat boxes are a delightful way to celebrate the season. The best part is that they can be personalized to your liking, allowing for endless creativity in what you fill them with.
Why You’ll Love Halloween Treat Boxes
- Creative Fun: Filling treat boxes allows for endless customization. You can include your favorite candies, cookies, and themed snacks, adding a personal touch.
- Family Friendly: Making treat boxes is a great activity to do with kids. They can help choose and arrange the sweets, promoting teamwork and creativity.
- Perfect for Gifting: These boxes make fantastic gifts for friends, neighbors, or classmates. They are a charming way to spread Halloween cheer.
- Easy to Assemble: Putting together these boxes doesn’t require culinary skills, making them accessible for everyone, including beginner home cooks.
- Versatile Ingredients: You can mix and match candies and snacks to cater to different tastes, ensuring there’s something for everyone who receives a box.
Recipe Overview
- Prep Time: 30 minutes
- Total Time: 30 minutes
- Servings: 8-10 treat boxes
- Difficulty Level: Easy
Ingredients You’ll Need for Halloween Treat Boxes
- Small Boxes or Paper Bags: Choose themes or colors you like (black, orange, or spooky designs).
- Candies:
- Chocolate Bars: Fun-sized or mini bars add a classic touch.
- Gummy Candies: Look for Halloween-themed options like bats, worms, or ghosts.
- Candy Corn: A seasonal favorite that’s instantly recognizable.
- Baked Treats:
- Cookies: Bake or buy Halloween-themed cookies such as pumpkin spice or decorated sugar cookies.
- Brownie Bites: Try bite-sized brownies for a rich addition.
- Decorative Items:
- Halloween Stickers: Use stickers to seal or decorate treat boxes.
- Colored Paper: To add a pop of color and cushion the treats.
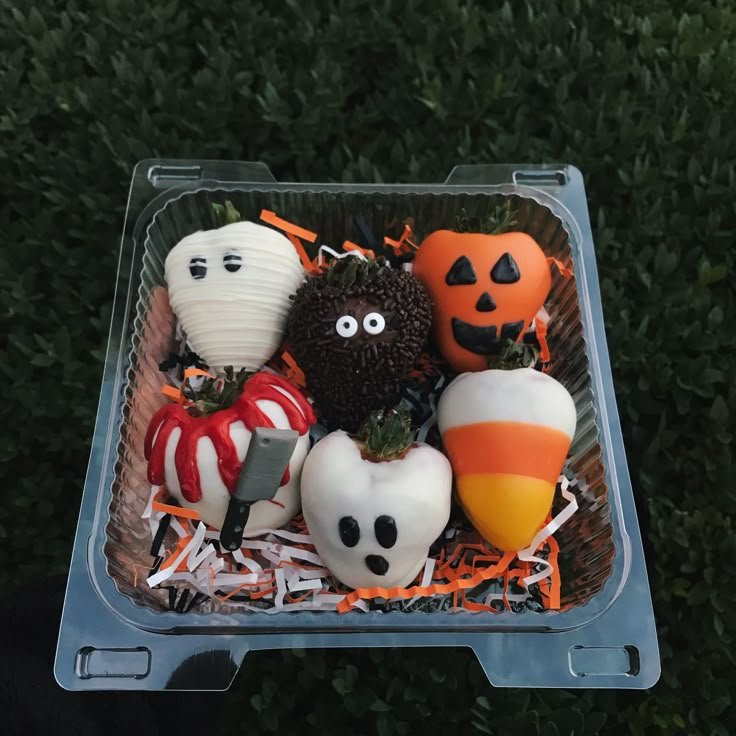
How to Make Halloween Treat Boxes
-
Choose Your Containers
- Select small boxes or paper bags in fun Halloween colors or designs.
-
Prepare Your Treats
- Gather and possibly prepare cookies, brownies, and other snacks. If baking, ensure they are completely cool before packing.
-
Fill the Boxes
- Layer your treats inside the boxes. Start with cupcakes or brownies at the bottom, followed by candies in separate sections.
-
Add Decorations
- Use colored paper to line the boxes if desired. Add stickers or stamps on the outside for a festive touch.
-
Seal and Present
- Close your boxes with a decorative ribbon or sticker. Optionally, create a small tag with a spooky message or your name on it.
Tips for Success
- Mix Textures: Combine chewy, crunchy, and creamy treats for a well-rounded experience.
- Themed Fillings: Stick to a color theme (like orange and black) to create a visually appealing display.
- Watch for Allergens: Be mindful of any dietary restrictions your recipients may have.
- Use Clear Bags: If you are using paper bags for decoration, consider using clear plastic for visibility of the treats.
- Make it Fun: Encourage kids to decorate the boxes with drawings or stickers to make it more personal.
Easy Variations
- Healthy Treat Boxes: Substitute candies for dried fruit, nuts, and popcorn for a better-for-you option.
- Themed Boxes: Choose a movie or character theme (like "Harry Potter" or "Ghostbusters") and fill the boxes with related treats.
- Savory Additions: Include spicy popcorn, pretzel sticks, or cheese puffs for a savory twist.
What to Serve with Halloween Treat Boxes
- Hot Cocoa: A cozy drink that pairs wonderfully with sweet treats.
- Cider: Warm apple cider can complement the flavors of pumpkin spice treats.
- Party Snacks: Serve alongside popcorn or chips for a fun snack table at a Halloween gathering.
- Fruit Platter: A light and healthy addition, especially with autumn fruits like apples and pears.
Storage and Reheating
- Refrigerator Storage: Keep your boxes sealed to maintain freshness. Store in a cool area, ideally away from sunlight.
- Freezer Storage: For items like cookies or brownies, you can freeze them ahead of time and assemble closer to the event.
- Best Reheating Method: Treats can be warmed slightly in the microwave if they lose texture. Make sure to do it in short bursts to avoid overheating.
Common Mistakes to Avoid
- Overstuffing: Be mindful not to overfill the boxes, as they can become difficult to close and look cluttered.
- Ignoring Allergens: Always check that the treats are suitable for the audience, particularly if children are involved.
- Using Soft Containers: Make sure to use sturdy boxes or bags that won’t collapse under the weight of the treats.
Halloween Treat Boxes: Background & Cultural Inspiration
Halloween treat boxes have their roots in the tradition of giving out candy to children during Halloween festivities. Originating from the ancient Celtic festival of Samhain, where people would light bonfires and wear costumes to ward off ghosts, the modern practice has evolved significantly. Today, candy giving symbolizes sharing the spirit of Halloween and brings communities together in a fun and colorful way. The creativity involved in assembling treat boxes allows for personal expression while honoring this delightful seasonal tradition.
Frequently Asked Questions
What treats can I include that are nut-free?
You can opt for gummy candies, popcorn, rice crispy treats, and chocolate bars labeled as nut-free.
How can I make the treats more festive?
Consider adding themed decorations, Halloween-themed sprinkles, or colored frosting to baked goods to enhance their appearance.
Can I prepare the treat boxes in advance?
Yes, you can prepare them a few days in advance. Just ensure they’re stored in a cool, dry place to keep them fresh.
What if I don’t have a lot of time?
You can use store-bought treats or simpler snacks, like popcorn and candy, to create quicker treat boxes.
Can I include homemade treats?
Absolutely! Just ensure they are completely cooled before packaging, and label them if you’re giving them to others so they know what’s inside.
Final Thoughts
Creating Halloween treat boxes is a delightful way to celebrate the holiday with friends, family, and even neighbors. These special boxes are easy to assemble, allowing for creativity and personalization that makes each one unique. Whether you’re filling them with candies, baked goods, or anything in between, this activity is sure to bring smiles to many faces. Don’t hesitate; gather your ingredients and start creating your treat boxes today!
PrintHalloween Treat Boxes
Delightful Halloween treat boxes filled with personalized sweets and snacks, perfect for parties or gifting.
- Prep Time: 30 minutes
- Cook Time: 0 minutes
- Total Time: 30 minutes
- Yield: 8-10 treat boxes
- Category: Dessert
- Method: Assembling
- Cuisine: American
- Diet: Vegetarian
Ingredients
- Small Boxes or Paper Bags (black, orange, or spooky designs)
- Candies:
- Chocolate Bars (fun-sized or mini)
- Gummy Candies (Halloween-themed options like bats, worms, or ghosts)
- Candy Corn
- Baked Treats:
- Cookies (Halloween-themed, such as pumpkin spice)
- Brownie Bites
- Decorative Items:
- Halloween Stickers
- Colored Paper
Instructions
- Choose your containers: Select small boxes or paper bags in fun Halloween colors or designs.
- Prepare your treats: Gather and possibly prepare cookies, brownies, and other snacks.
- Fill the boxes: Layer your treats inside the boxes, starting with cupcakes or brownies at the bottom.
- Add decorations: Use colored paper to line the boxes and apply stickers or stamps.
- Seal and present: Close the boxes with a decorative ribbon or sticker.
Notes
Mix textures and use clear bags for visibility. Always consider allergens and dietary restrictions.












